Easy mehndi designs make it possible for anyone to create beautiful henna art, even if you have never held a cone before. With a few basic shapes, clear steps, and some practice, you can decorate your hands and fingers for any occasion without paying a professional artist.
Why Easy Mehndi Designs Are Perfect for Beginners
Learning mehndi does not have to feel complicated or scary. Easy mehndi designs focus on simple lines, dots, curves, and flowers, so you build skills step by step instead of jumping straight into heavy bridal patterns.

These beginner‑friendly designs are ideal if you want to:
-
Get ready quickly for a festival or small function
-
Practice henna art at home before a big event
-
Try creative body art without spending much money
-
Teach kids or friends simple mehndi designs in a fun way
As search interest in simple and Arabic‑style mehndi has grown steadily through 2024–2025, more people now look for quick, minimal designs they can apply themselves. That means easy mehndi designs are not just for learners; they are a major trend on social media and in real‑life weddings too.
Getting Started: Mehndi Tools and Safety Basics
Before drawing any design, it is important to choose safe products and prepare your skin correctly. Using poor‑quality or chemical henna can lead to irritation, redness, or even serious allergic reactions.
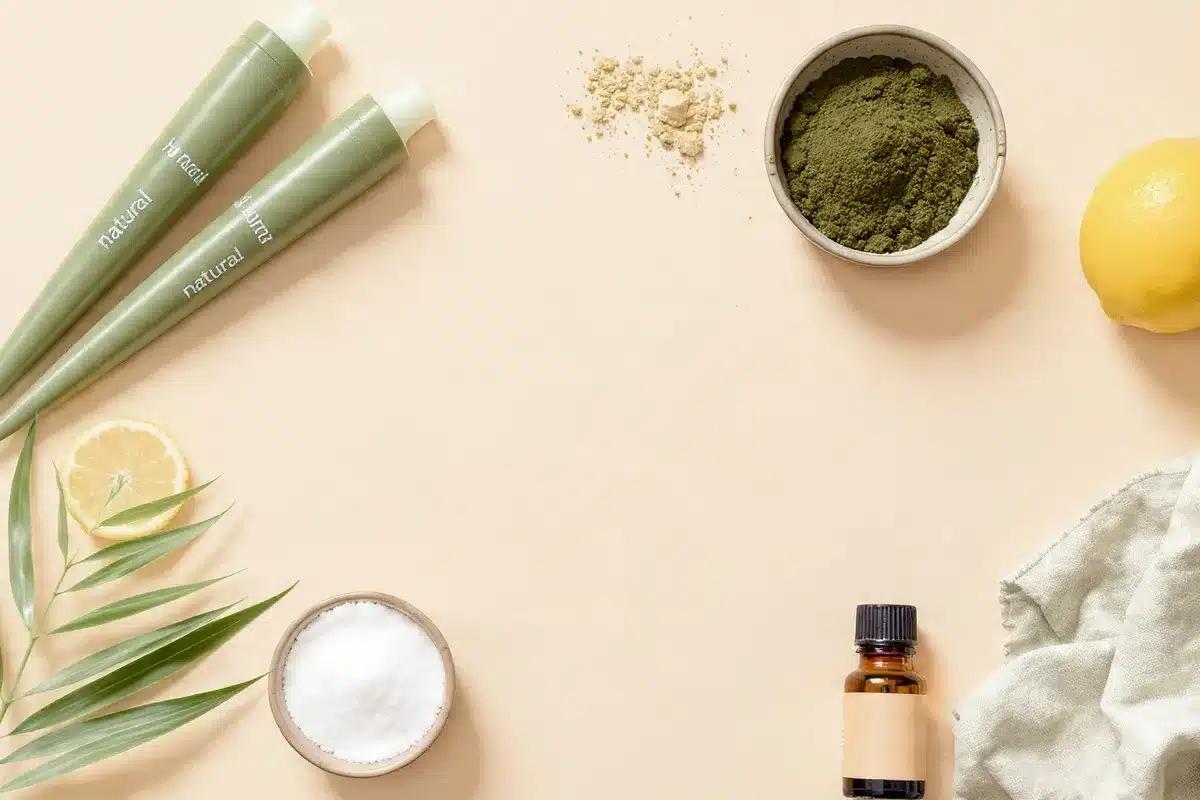
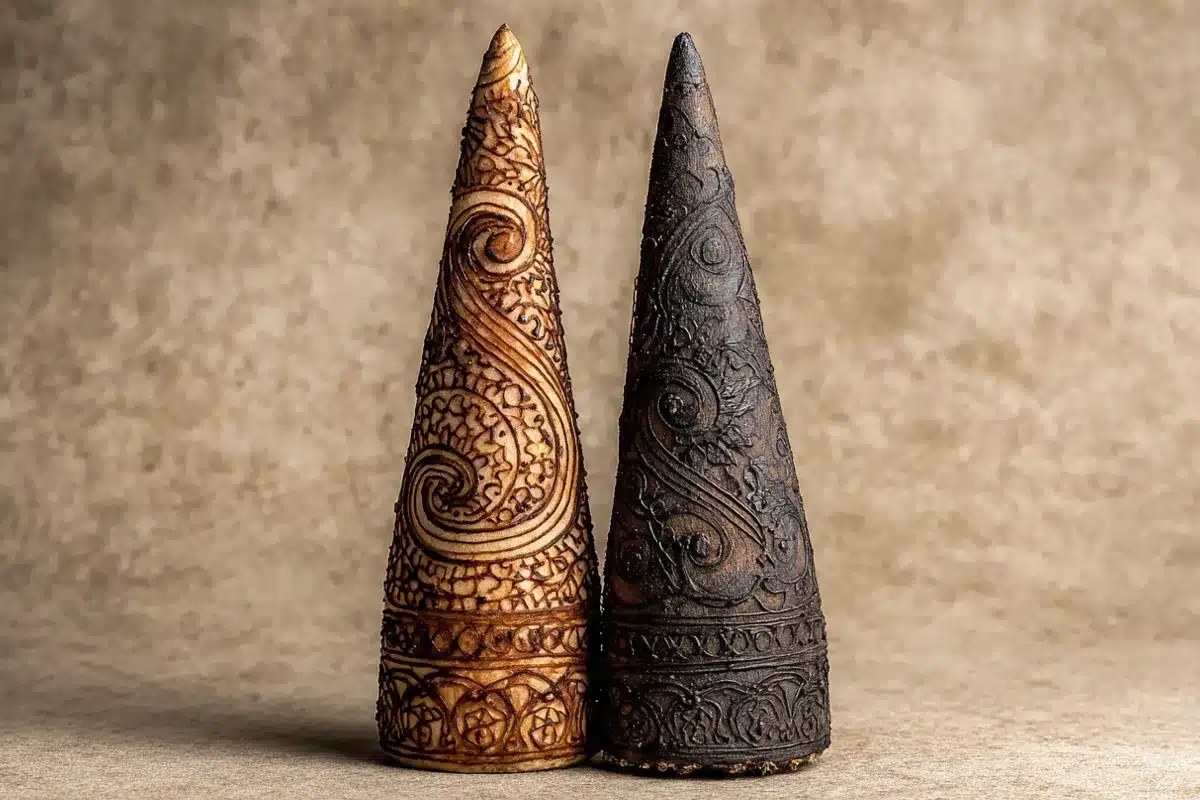
Choose Safe Henna Cones
Look for:
-
Cones labeled as natural henna with a short ingredient list
-
No “black henna,” PPD, or harsh dyes mentioned on the pack
-
Reputable brands with good reviews from regular users
Dermatology experts warn that “black henna” and emergency cones with extra chemicals can cause itching, burns, or blistering, especially in people with sensitive skin. To stay safe, always perform a small patch test on your arm 24–48 hours before applying designs over a large area.
Prepare Your Skin
Good preparation helps your easy mehndi designs stain deeper and last longer.
-
Wash hands with mild soap and dry well
-
Avoid lotions or oils right before application
-
If needed, remove hair at least 24 hours earlier to reduce sensitivity
-
Check for cuts, rashes, or broken skin and avoid those areas
This simple routine improves color and reduces the chance of reactions to essential oils or other ingredients in the paste.
Basic Shapes You Must Learn First
Every complex pattern starts from a few basic building blocks. Mastering these simple shapes will make all easy mehndi designs feel more natural and less stressful.
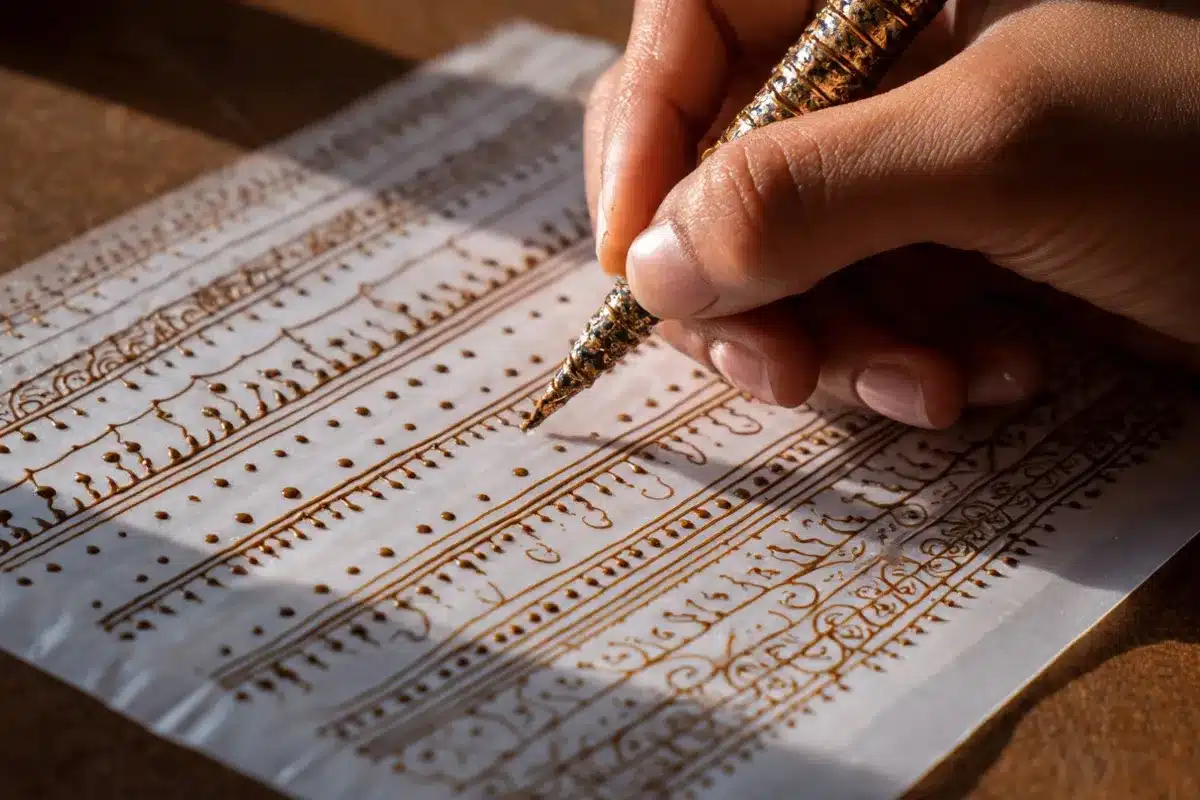
Core Mehndi Elements
Practice these on paper or a plastic sheet before moving to your skin:
-
Straight and curved lines
-
Dots in different sizes
-
Small leaves and teardrops
-
Simple circles and spirals
-
Basic petals and paisleys
Many beginner guides for 2025 suggest practicing small circles and paisleys for at least 10–15 minutes a day to improve cone control and line smoothness. Once your hand feels steady, you can start combining these shapes into real patterns on fingers and palms.
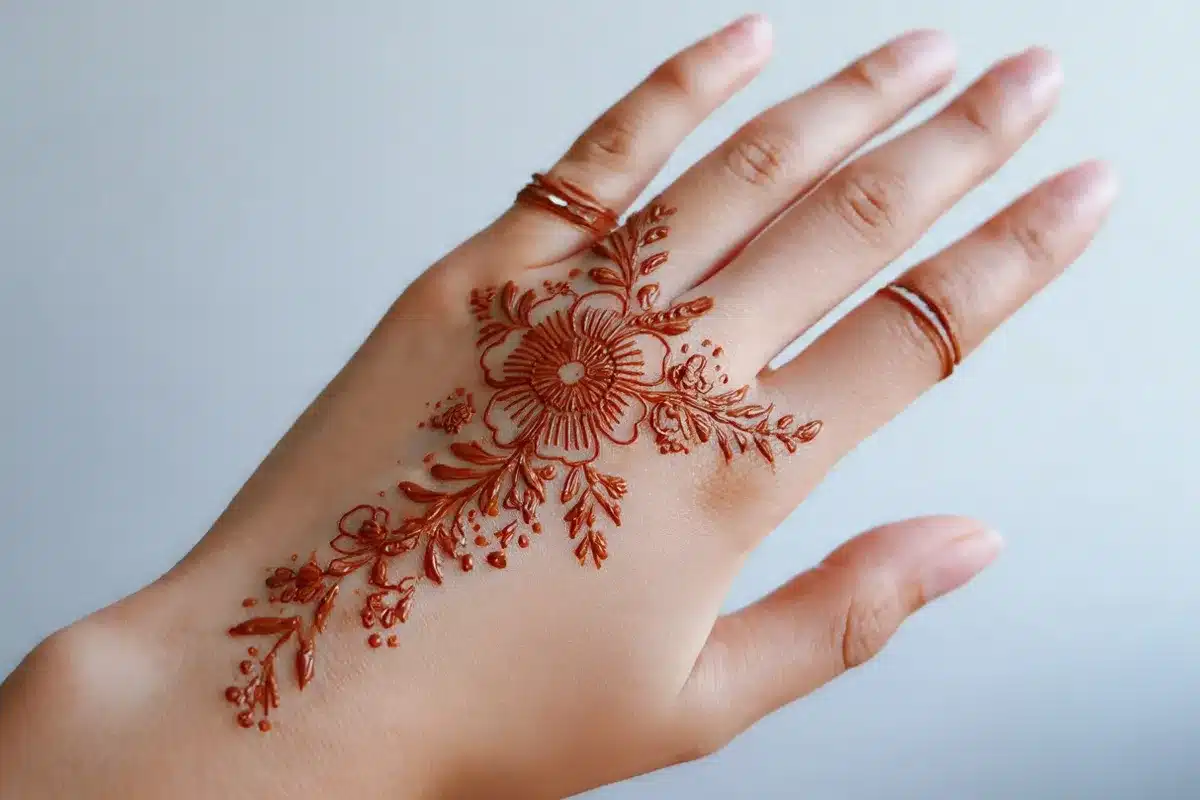
Step‑By‑Step: Your First Easy Mehndi Design
This section walks you through a very simple front‑hand pattern that works for any event. It uses only lines, dots, and small petals, so it is ideal for your first try at easy mehndi designs.
Step 1: Start with a Small Flower on the Palm
-
Draw a tiny circle in the center of your palm.
-
Add 6–8 small petals around the circle.
-
Make the outer tips of the petals slightly pointed to add style.
This central flower will act as the focus of your design and can be kept as simple or as detailed as you like.
Step 2: Add a Curved Trail to the Index Finger
-
From the flower, draw a soft curve toward the base of your index finger.
-
On both sides of the curve, add tiny leaves or dots to create a vine effect.
-
Extend the line until it reaches the middle of your finger.
This flowing trail is common in many simple mehndi designs because it is quick and flattering on the hand.
Step 3: Decorate the Finger
-
Draw 2–3 small bands (like rings) around the finger using straight or slightly curved lines.
-
Add tiny dots or leaf shapes between the bands.
-
Leave some skin visible to keep the design airy and modern.
Trending designs in 2025 often leave gaps and negative space to create a minimal look that still photographs beautifully.
Step 4: Finish with Dots and Tiny Details
-
Add a few dots around the main flower.
-
Fill small empty spaces with tiny petals or single leaves.
-
Keep checking that both hands look balanced if you are doing pairs.
At this point, you will have a complete, neat pattern built from very simple mehndi designs that still appear elegant and stylish.
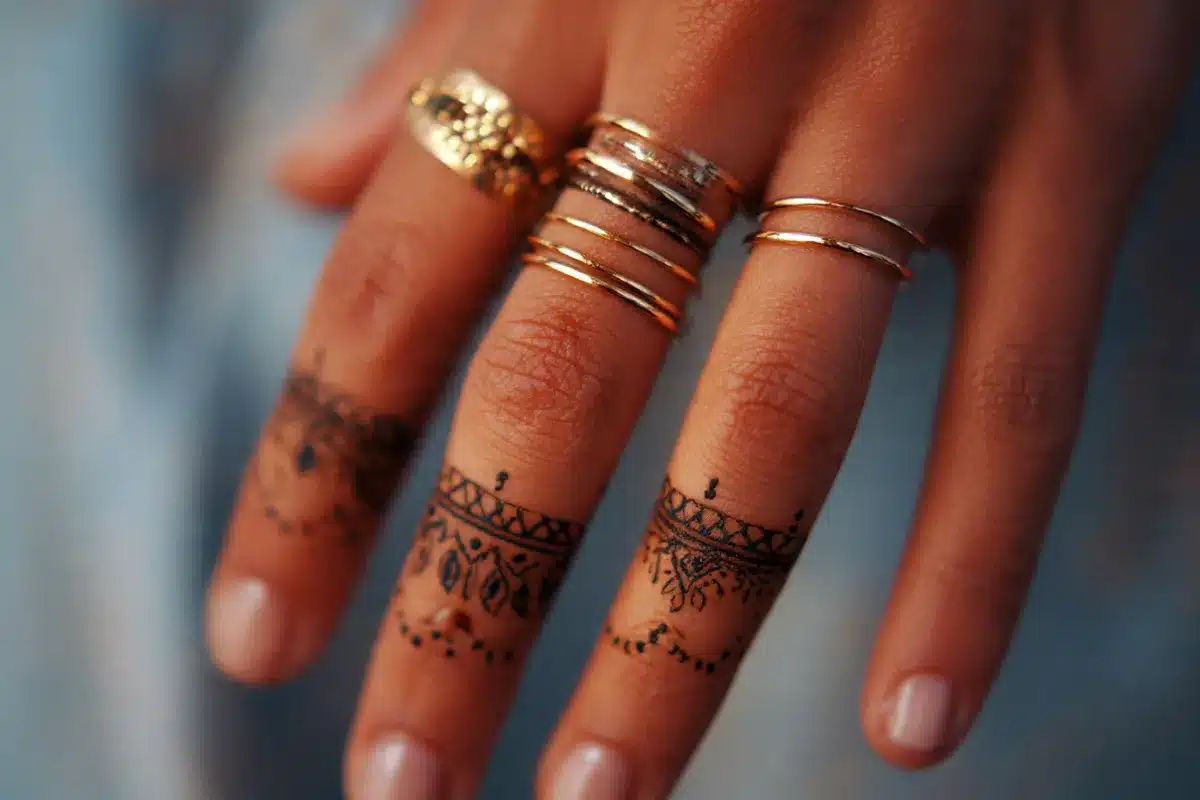
Easy Mehndi Designs for Fingers Only
Finger‑only patterns are perfect when you want something light, quick, and trendy. They also work well if you are new to mehndi or do not want to cover the full hand.
Simple Finger Mehndi Ideas
Try these beginner‑friendly options:
-
Ring bands: 2–3 thin lines with dots between them near the knuckles
-
Leaf trail: A small vine with leaves running up one finger
-
Grid style: A tiny criss‑cross net pattern with dots at intersections
-
Single motif: A flower or star near the fingertip, like a cute tattoo
Wedding and fashion platforms show that minimal finger mehndi has become very popular among bridesmaids and guests in 2025 because it looks modern and pairs well with jewelry. These easy mehndi designs are also great for work or school, as they are subtle and fade naturally in a few days.
Easy Palm Mehndi Designs for Beginners
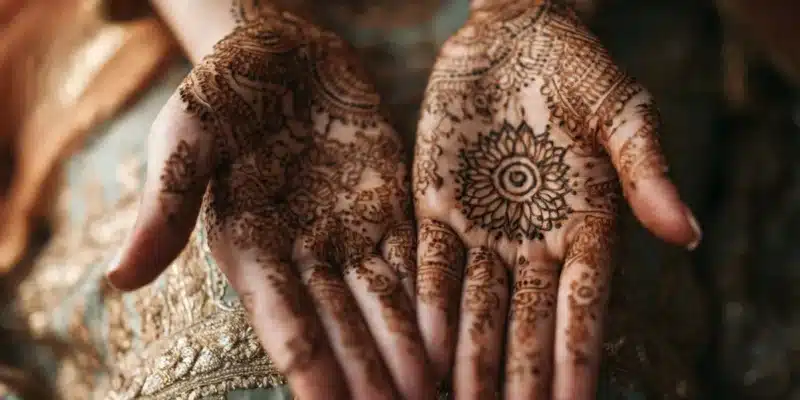
Palm designs give more space to play with shapes while still staying simple. You can choose one big motif in the center and keep the rest of the hand nearly empty for a classy look.
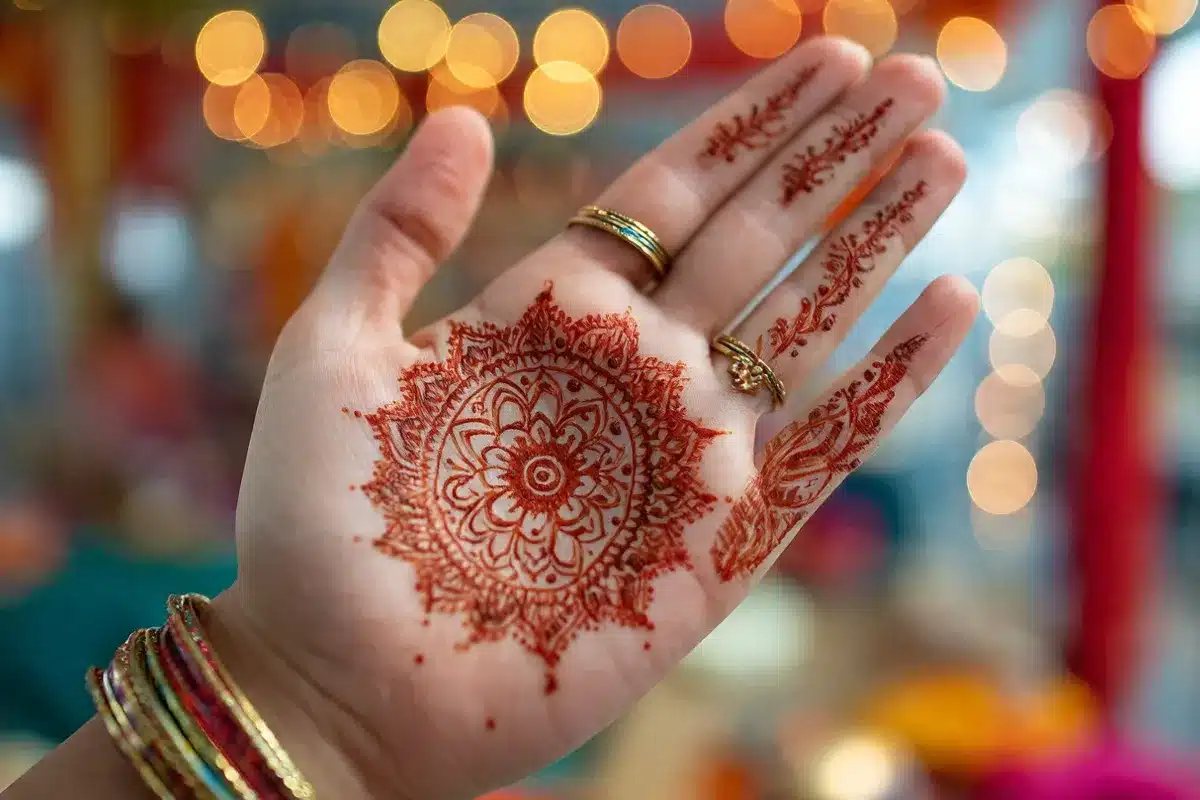
Minimal Mandala Design
A mandala is a round floral pattern that sits in the center of the palm.
-
Draw a small circle in the middle.
-
Add a ring of petals around it.
-
Add a second ring of slightly larger petals.
-
Finish with dots or tiny leaves between petals.
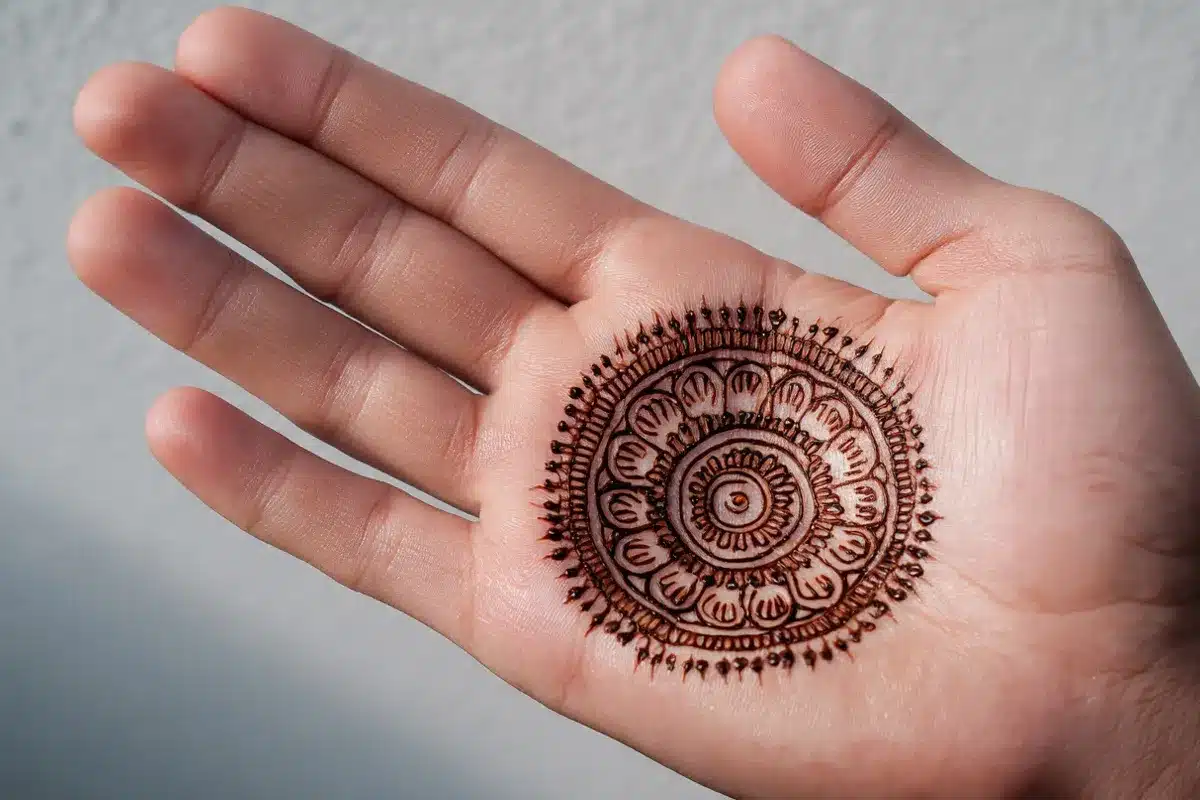
Beginner tutorials note that mandala designs often take just 5–10 minutes and are ideal for last‑minute events. Because they focus on symmetry rather than heavy filling, they are one of the most forgiving easy mehndi designs you can try.
Half‑Palm Floral Swirl
If you want something more modern:
-
Draw a flower near the base of the thumb.
-
Extend a curved line across half of the palm.
-
Add a few leaves and dots along the curve.
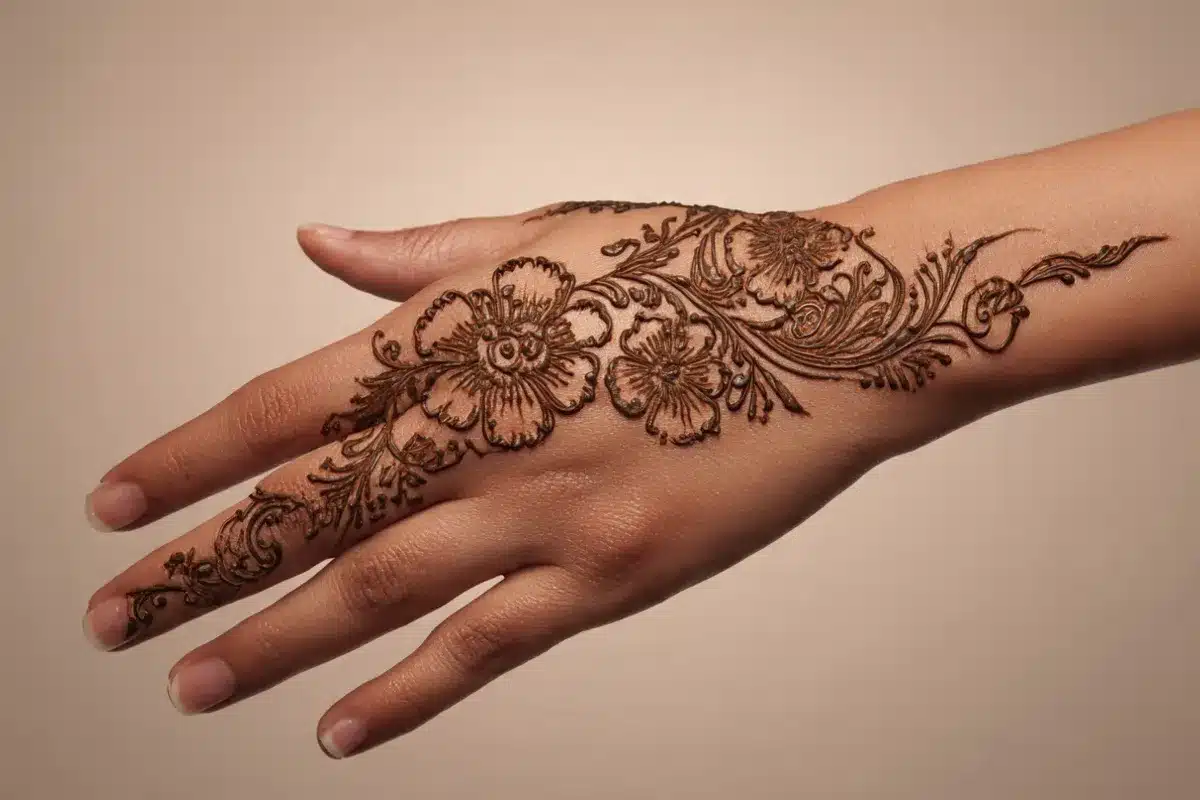
This layout leaves part of the palm empty, matching the minimalist mehndi trend that has grown across social media and bridal shoots in 2025.
Easy Mehndi Designs for Kids
Children often want small, cute patterns that do not take too long or feel heavy on the skin. Easy mehndi designs for kids should be quick, simple, and drawn with safe, natural henna.
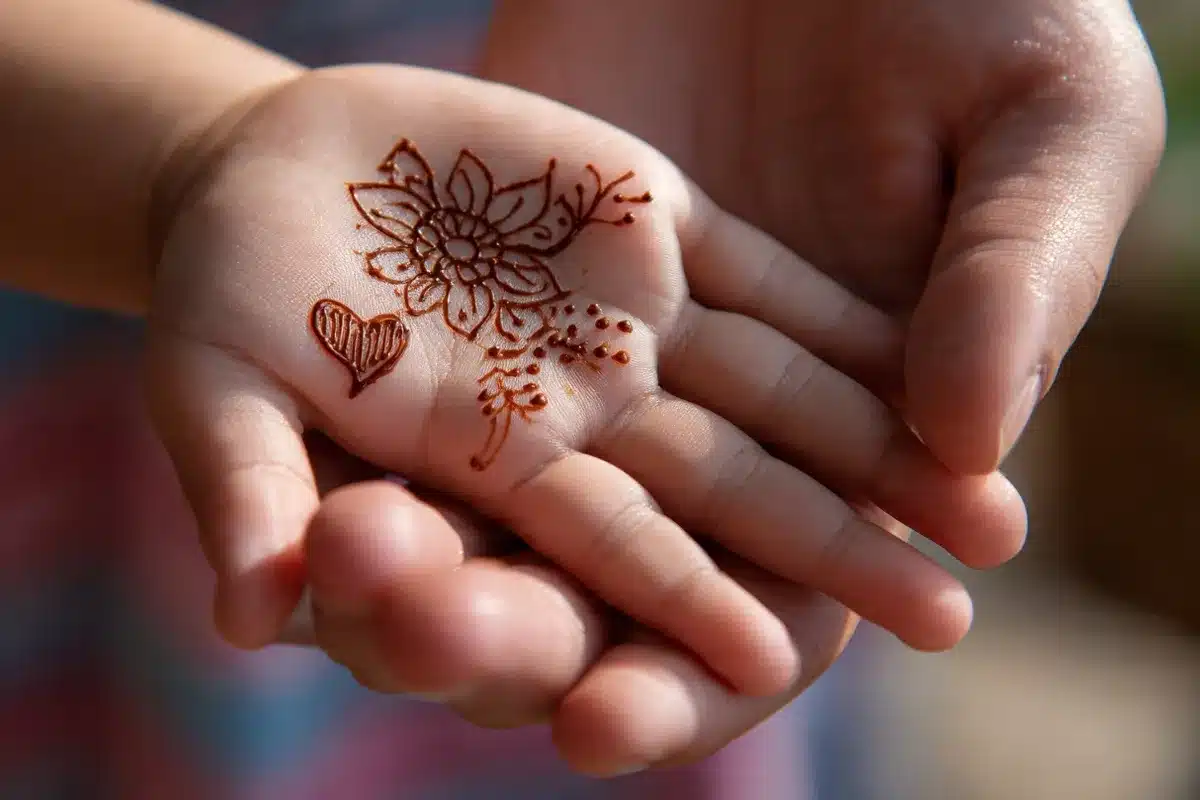
Cute and Quick Ideas
-
Tiny flowers on the back of the hand
-
A small heart with dots around it
-
A star or moon near the wrist
-
Simple smiley face or cartoon‑style sun
Parent‑focused guides recommend keeping kids’ designs small and avoiding chemical cones, because their skin can be more sensitive to ingredients. Doing a patch test and removing the paste quickly after an hour or two is a good way to balance fun designs with safety.
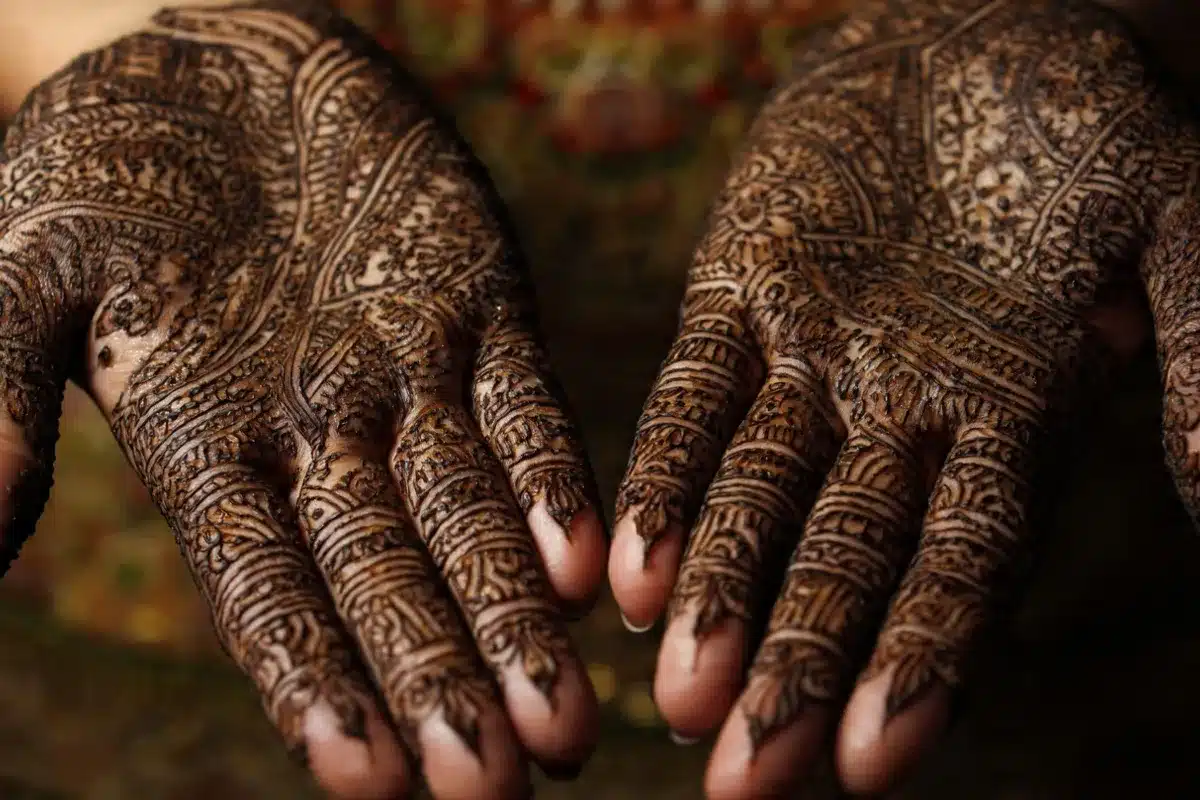
Trendy Easy Mehndi Designs for 2026
Mehndi trends change each year, and 2026 designs highlight a blend of minimalism and bold Arabic‑style strokes. This means beginners can combine simple shapes with stylish placements to look updated and fresh.
Popular Styles Right Now
Current trend reports highlight three key styles:
-
Minimal mandala and grids: Clean circles, dot patterns, and light nets
-
Arabic‑inspired vines: Bold curves with floral tips and open spaces
-
Fusion patterns: Mixing Indian paisleys with geometric or jewelry‑style bands
Google Trends data shows strong interest in Arabic mehndi designs, with noticeable peaks in late 2024 and early 2025, while traditional full‑coverage styles stay more niche. For beginners, this is good news because many of these looks can be adapted into easy mehndi designs that take much less time to apply.
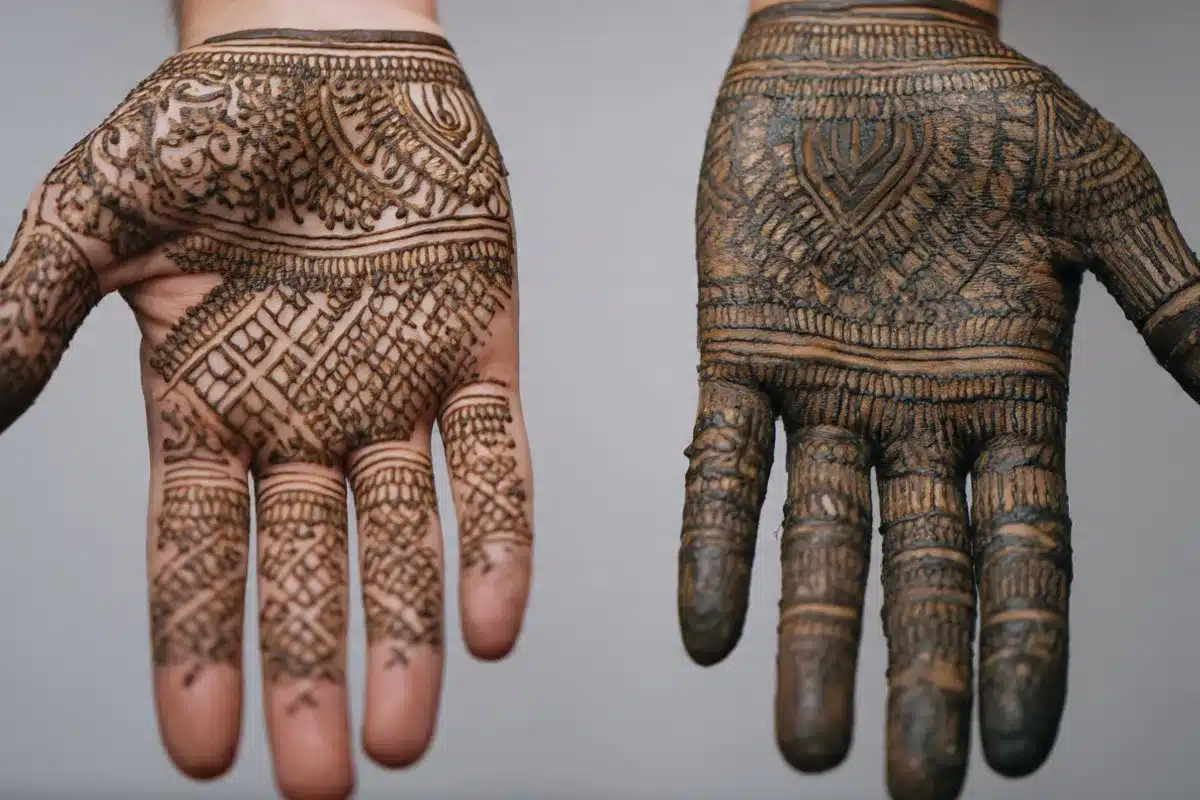
How to Make Your Mehndi Color Darker and Last Longer
Getting a deep stain is almost as important as drawing the design well. A few simple habits can improve color without any harsh tricks.
Before and After Application
-
Clean the skin thoroughly and keep it oil‑free.
-
Leave the paste on for at least 2–4 hours if possible.
-
Avoid water on the area for several hours after scraping the paste off.
-
Keep the hands warm, as heat can help deepen the stain.
Henna experts explain that natural henna usually shows its darkest color about 24–48 hours after application, then slowly fades over 7–10 days. This works perfectly with easy mehndi designs, which look beautiful even as they lighten because they are not too dense or crowded.
Common Mistakes Beginners Should Avoid
Even with simple mehndi designs, small errors can affect the final look. Knowing what to avoid will help your first designs look neat and intentional.
Mistakes to Watch For
-
Pressing the cone too hard: Causes thick, uneven lines
-
Drawing too fast: Leads to shaky shapes and broken curves
-
Overfilling the design: Removes negative space and makes it messy
-
Skipping patch tests: Increases risk if your skin is sensitive
Stylists point out that beginners often try to copy very heavy bridal designs immediately, which can be frustrating and time‑consuming. Starting with easy mehndi designs and slowly adding detail is a better approach that keeps you motivated.
Real‑World Example: 10‑Minute Festival Look
Imagine you have only 10–15 minutes before a small festival gathering. You can still create a polished look using a simple front‑hand pattern:
-
A mandala or big flower in the center of your palm
-
A single vine leading to the middle finger
-
Two ring‑style bands on each finger
-
A few dots around empty spaces
Guides featuring timed designs show that such quick patterns are very popular because they fit into busy routines while still looking great in photos. This type of layout is one of the most practical easy mehndi designs you can rely on when you are short on time.
FAQ: Easy Mehndi Designs
1. What are the easiest mehndi designs for total beginners?
The easiest mehndi designs for beginners use basic flowers, dots, and simple vines on the fingers and palm without heavy filling. Start with a small mandala, single flower, or ring‑style finger bands before trying more detailed patterns.
2. How long do easy mehndi designs usually last?
Natural henna stains usually last about 7–10 days, starting bright orange and turning deeper brown within 1–2 days after application. Lighter, easy mehndi designs may fade a bit faster on fingertips because those areas are washed more often.
3. Are easy mehndi designs safe for kids?
Easy mehndi designs can be safe for kids if you use natural henna without PPD or strong chemicals and always perform a patch test first. Avoid “black henna” and remove the paste after a shorter time to reduce any risk of irritation.
4. How can I practice easy mehndi designs without wasting cones?
You can practice cone control by drawing shapes on plastic files, tiles, or laminated sheets and wiping them clean after each session. Some learners also sketch designs with a pen or marker first, then trace over them later with real henna once they feel confident.
5. Which style is best if I want modern, minimal mehndi?
For a modern look, choose minimal mandalas, single‑finger vines, and ring‑style patterns that leave plenty of empty skin visible. These easy mehndi designs match current 2025 trends and pair well with contemporary outfits and jewelry.
6. How do I avoid smudging my design while it dries?
Try to sit comfortably with your hands supported and keep your fingers slightly apart so lines do not touch. Once the paste dries a bit, you can dab it with a sugar‑lemon mix if you like, but avoid bending your hands too much until you remove the paste.
7. Can I do easy mehndi designs for weddings, or are they only for casual events?
Easy mehndi designs can absolutely work for weddings, especially for guests, bridesmaids, or anyone who prefers a subtle look. For brides, simple designs on the back of the hand or feet can complement heavier patterns elsewhere or fit intimate, modern ceremonies.
Start Your Easy Mehndi Journey Today
Easy mehndi designs give you a simple, stress‑free way to enjoy henna art, whether you are getting ready for a festival, a family function, or just trying something creative at home. By focusing on safe cones, basic shapes, and step‑by‑step patterns, you can build your skills steadily and create beautiful results without professional help.

If you are ready to begin, start with one small design from this guide today and slowly expand as your confidence grows with easy mehndi designs over time. With regular practice, you will soon have your own personal style that you can use for every occasion, from simple get‑togethers to weddings and festivals.
References:
- https://indianexpress.com/article/lifestyle/dermatologist-warns-adulterated-mehendi-pigmentation-blistering-allergy-10210174/
- https://timesofindia.indiatimes.com/life-style/beauty/karwa-chauth-2025-mehndi-designs-beautiful-full-hand-mehndi-design-images-and-photos/articleshow/124382607.cms
- https://www.youtube.com/watch?v=MALSe5V8lrA
- https://www.youtube.com/watch?v=Dg9-RtSGxW8